React Redux Toolkit Fetch Data from API Example
In this tutorial we are going to see how to fetch data from API using react and redux toolkit, redux toolkit is the recommended way of managing state since it includes a lot of packages that can be used in any application.
Install packages we need
We are going to use jokes API to fetch, save and display jokes, I assume that you have already created a react application, all the packages you need are in the JSON file below.
                                                                                                                {
  "name": "react_redux_jokes_api_app",
  "version": "0.1.0",
  "private": true,
  "dependencies": {
    "@reduxjs/toolkit": "^1.9.2",
    "@testing-library/jest-dom": "^5.16.5",
    "@testing-library/react": "^13.4.0",
    "@testing-library/user-event": "^13.5.0",
    "axios": "^1.3.3",
    "react": "^18.2.0",
    "react-dom": "^18.2.0",
    "react-redux": "^8.0.5",
    "react-scripts": "5.0.1",
    "web-vitals": "^2.1.4"
  },
  "scripts": {
    "start": "react-scripts start",
    "build": "react-scripts build",
    "test": "react-scripts test",
    "eject": "react-scripts eject"
  },
  "eslintConfig": {
    "extends": [
      "react-app",
      "react-app/jest"
    ]
  },
  "browserslist": {
    "production": [
      ">0.2%",
      "not dead",
      "not op_mini all"
    ],
    "development": [
      "last 1 chrome version",
      "last 1 firefox version",
      "last 1 safari version"
    ]
  }
}
Create store
The structure of our application will be like this:
> src
> redux
> slices
> store
app.js
index.js
Inside the store folder, we add a new file store.js.
                                                                                                                        import { configureStore } from "@reduxjs/toolkit";
import jokeReducer from "../slices/jokeSlice";


const store = configureStore({
    reducer: {
        joke: jokeReducer
    }
});

export default store;
Create jokeSlice
Inside the folder slices, we add a new file jokeSlice.js.
                                                                                                                        import { createAsyncThunk, createSlice } from "@reduxjs/toolkit";
import axios from "axios";

const initialState = {
    joke: '',
    jokes: [],
    loading: false,
    error: ''
}

export const fetchJoke = createAsyncThunk('joke/fetch', async () => {
    const response = await axios.get('https://api.chucknorris.io/jokes/random');
    return response.data;
});

const jokeSlice =  createSlice({
    name: 'joke',
    initialState,
    reducers: {
        addJoke(state, action){
            const joke = action.payload;
            const fetchedJokes = JSON.parse(localStorage.getItem('jokes')) || [];
            let exists = fetchedJokes.find(item => item === joke);
            if(exists) {
                alert('Joke already saved!')
            }else{
                const updatedJokes = [...state.jokes, joke];
                state.jokes = updatedJokes;
                localStorage.setItem('jokes', JSON.stringify(state.jokes));
                alert('Joke saved');
            }
        },
        fetchJokes(state, action){
            const fetchedJokes = JSON.parse(localStorage.getItem('jokes')) || [];
            state.jokes = fetchedJokes;
        },
    },
    extraReducers: (builder) => {
        builder.addCase(fetchJoke.pending, (state, action) => {
            state.loading = true;
        });
        builder.addCase(fetchJoke.fulfilled, (state, action) => {
            state.loading = false;
            state.joke = action.payload.value;
        });
        builder.addCase(fetchJoke.rejected, (state, action) => {
            state.loading = false;
            state.joke = '';
            state.error = action.error.message;
        });
    }
});

export const { addJoke, fetchJokes } = jokeSlice.actions;

const jokeReducer = jokeSlice.reducer;

export default jokeReducer;
Update index.js
Inside the root folder, update the index.js file and add the store.
                                                                                                                        import React from 'react';
import ReactDOM from 'react-dom/client';
import './index.css';
import App from './App';
import { Provider } from 'react-redux';
import store from './redux/store/store';

const root = ReactDOM.createRoot(document.getElementById('root'));
root.render(
  <React.StrictMode>
    <Provider store={store}>
      <App />
    </Provider>
  </React.StrictMode>
);
Update the App Component
Inside the root folder, we update the file App.js, also you need to grab bootstrap 5 files and add them in the header and the footer of the public/index.html file.
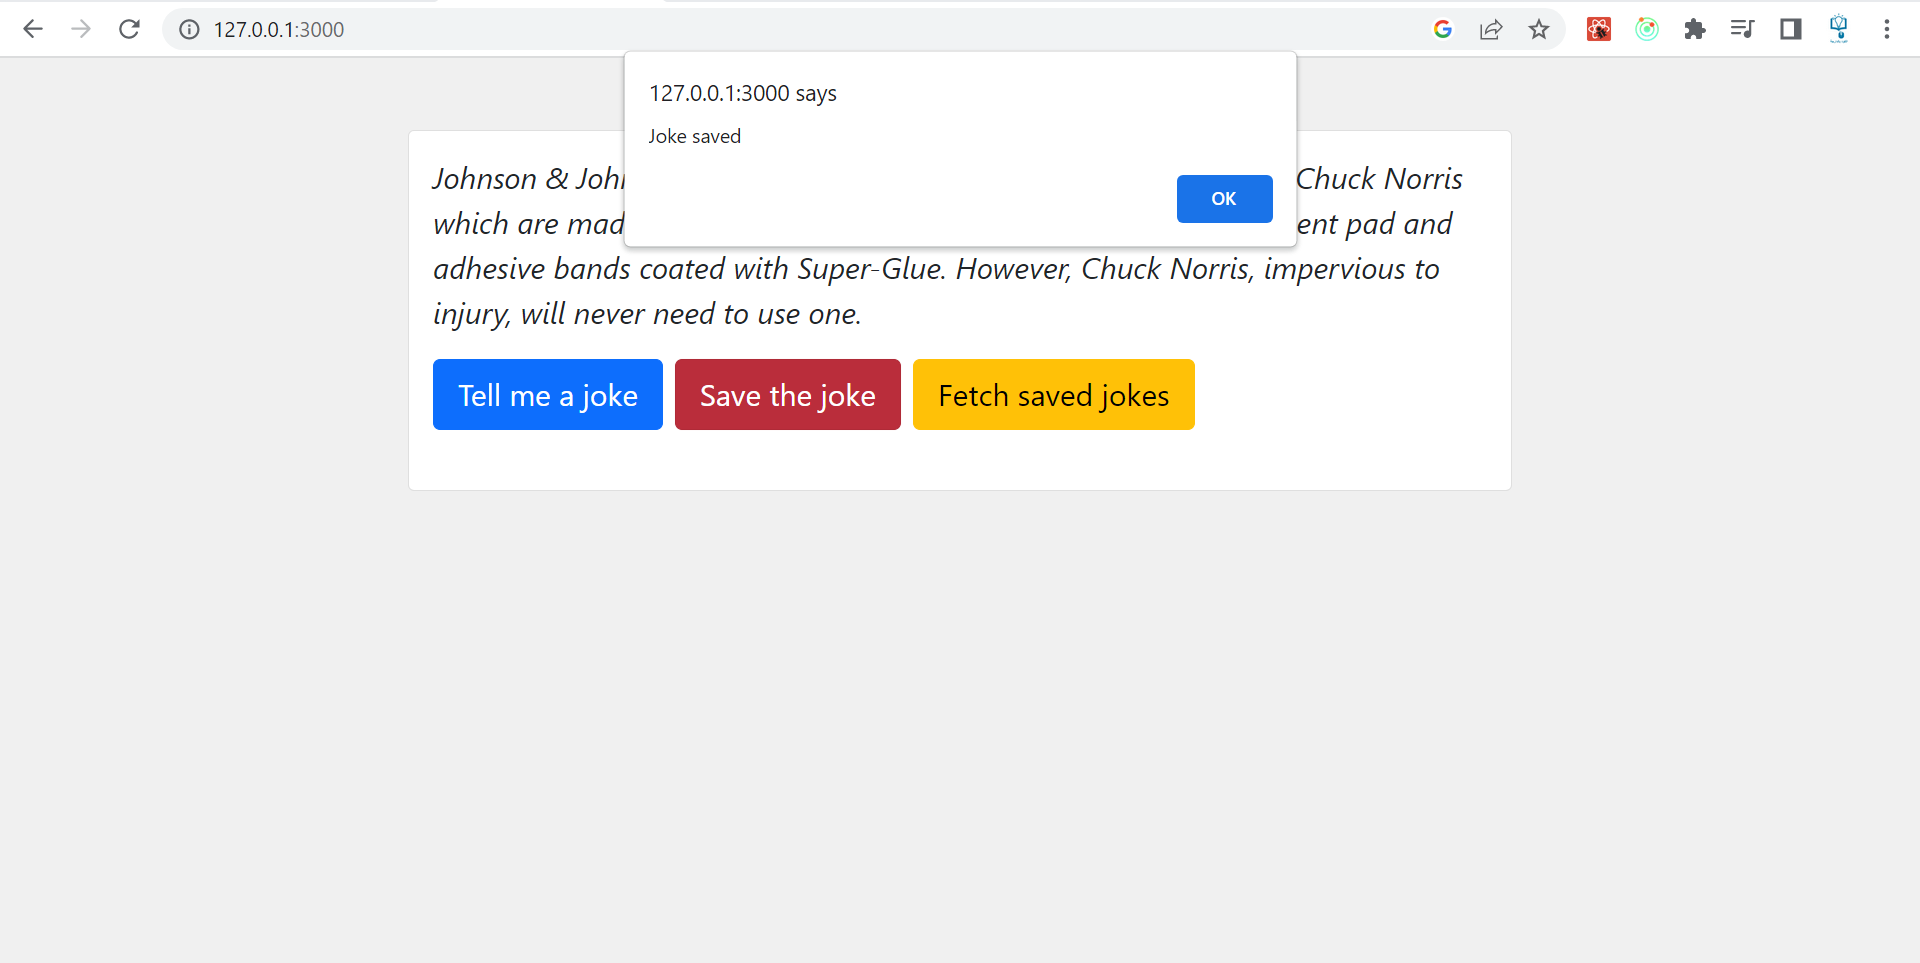
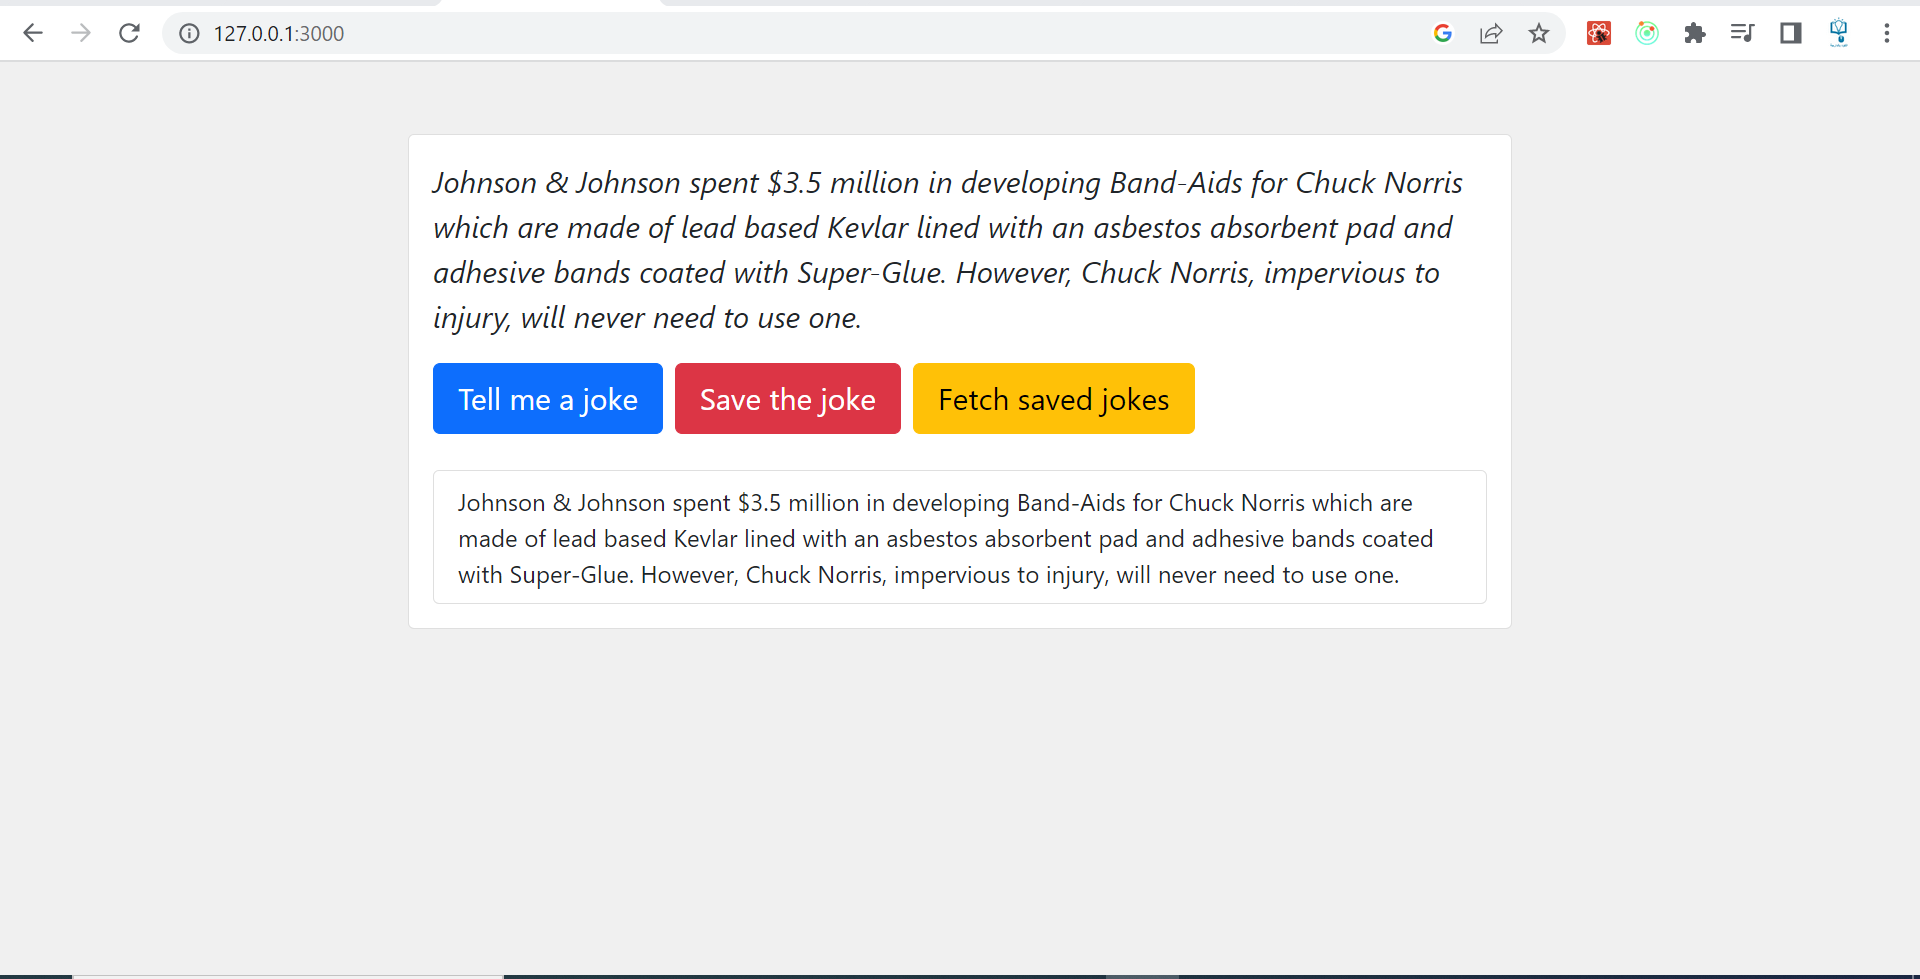
Once done start the server and you will see your app working like this :
                                                                                                                        import { useEffect, useState } from "react";
import { useDispatch, useSelector } from "react-redux";
import { fetchJoke, addJoke, fetchJokes } from "./redux/slices/jokeSlice";


function App() {
  const [text, setText] = useState();
  const dispatch = useDispatch();
  const { joke, jokes, loading, error } = useSelector(state => state.joke);

  useEffect(() => {
    setText(joke);
  }, [joke])

  return (
    <div className="container">
      <div className="row my-5">
        <div className="col-md-8 mx-auto">
          <div className="card">
            <div className="card-body">
              {
                error && (
                  <div className="alert alert-danger">
                    { error }
                  </div>
                )
              }
              <p className="lead fw-normal">
                <i>{ text }</i>
              </p>
              {
                loading ?
                  <div className="spinner-border" role="status">
                    <span className="visually-hidden">Loading...</span>
                  </div>
                :
                <button onClick={() => dispatch(fetchJoke())} className="btn btn-lg btn-primary">
                  Tell me a joke
                </button>
              }
              <button onClick={() => dispatch(addJoke(joke))}
                  disabled={!joke}
                  className="btn btn-lg btn-danger ms-2">
                Save the joke
              </button>
              <button onClick={() => dispatch(fetchJokes())} className="btn btn-lg btn-warning ms-2">
                Fetch saved jokes
              </button>
              <ul className="list-group mt-4">
                {
                  jokes?.map((joke, index) => (
                    <li key={ index } className="list-group-item">
                      { joke }
                    </li>
                  ))
                }
              </ul>
            </div>
          </div>
        </div>
      </div>
    </div>
  );
}

export default App;

